Most articles about basement permits stop at “you’ll need a building permit.” That’s not useful. What people actually want to know is: what do I submit, who reviews it, how long does it take, and what makes it go sideways.
So here’s the real sequence for a secondary suite in Toronto, based on the City’s own published requirements, in the order it happens.
One thing up front, because it determines everything else: Toronto’s published review timelines only apply to a complete application. An incomplete application has no review timeline at all. Not a longer one. None. It sits.
Step 1: Confirm the zoning before you draw anything
Toronto’s Zoning By-law 569-2013 generally permits one secondary suite in a detached house, semi-detached house, or townhouse in residential zones. But “generally” isn’t “always,” and you don’t get to assume.
The City’s own definition of what you’re applying for is narrower than most people expect: a building permit for an interior alteration to add a second dwelling unit that is smaller in area than the primary unit, in an existing detached, semi-detached, or townhouse. If your basement is bigger than what’s above it, that’s a design problem to solve before drawings, not after.
For the full picture on zoning, ceiling heights, egress and fire separation, see our guide to what makes a basement legal in Toronto.
Step 2: Get the Zoning Applicable Law Certificate — this is the gate
This is the single most important item in the whole process and the one homeowners have never heard of.
Toronto Building will not treat your application as complete without an issued Zoning Applicable Law Certificate (ZAP). From the City’s Building Permit Review Streams page: applications where no Zoning Applicable Law Certificate has been issued are considered incomplete, and there is no time frame for review of incomplete applications.
Read that again. Without the ZAP, the ten-business-day clock never starts. Your file isn’t slow — it’s not in the queue.
This is why so many homeowners report their permit “taking months.” Usually it wasn’t in review for months. It was sitting incomplete while nobody explained what was missing.
Step 3: Prepare the drawings
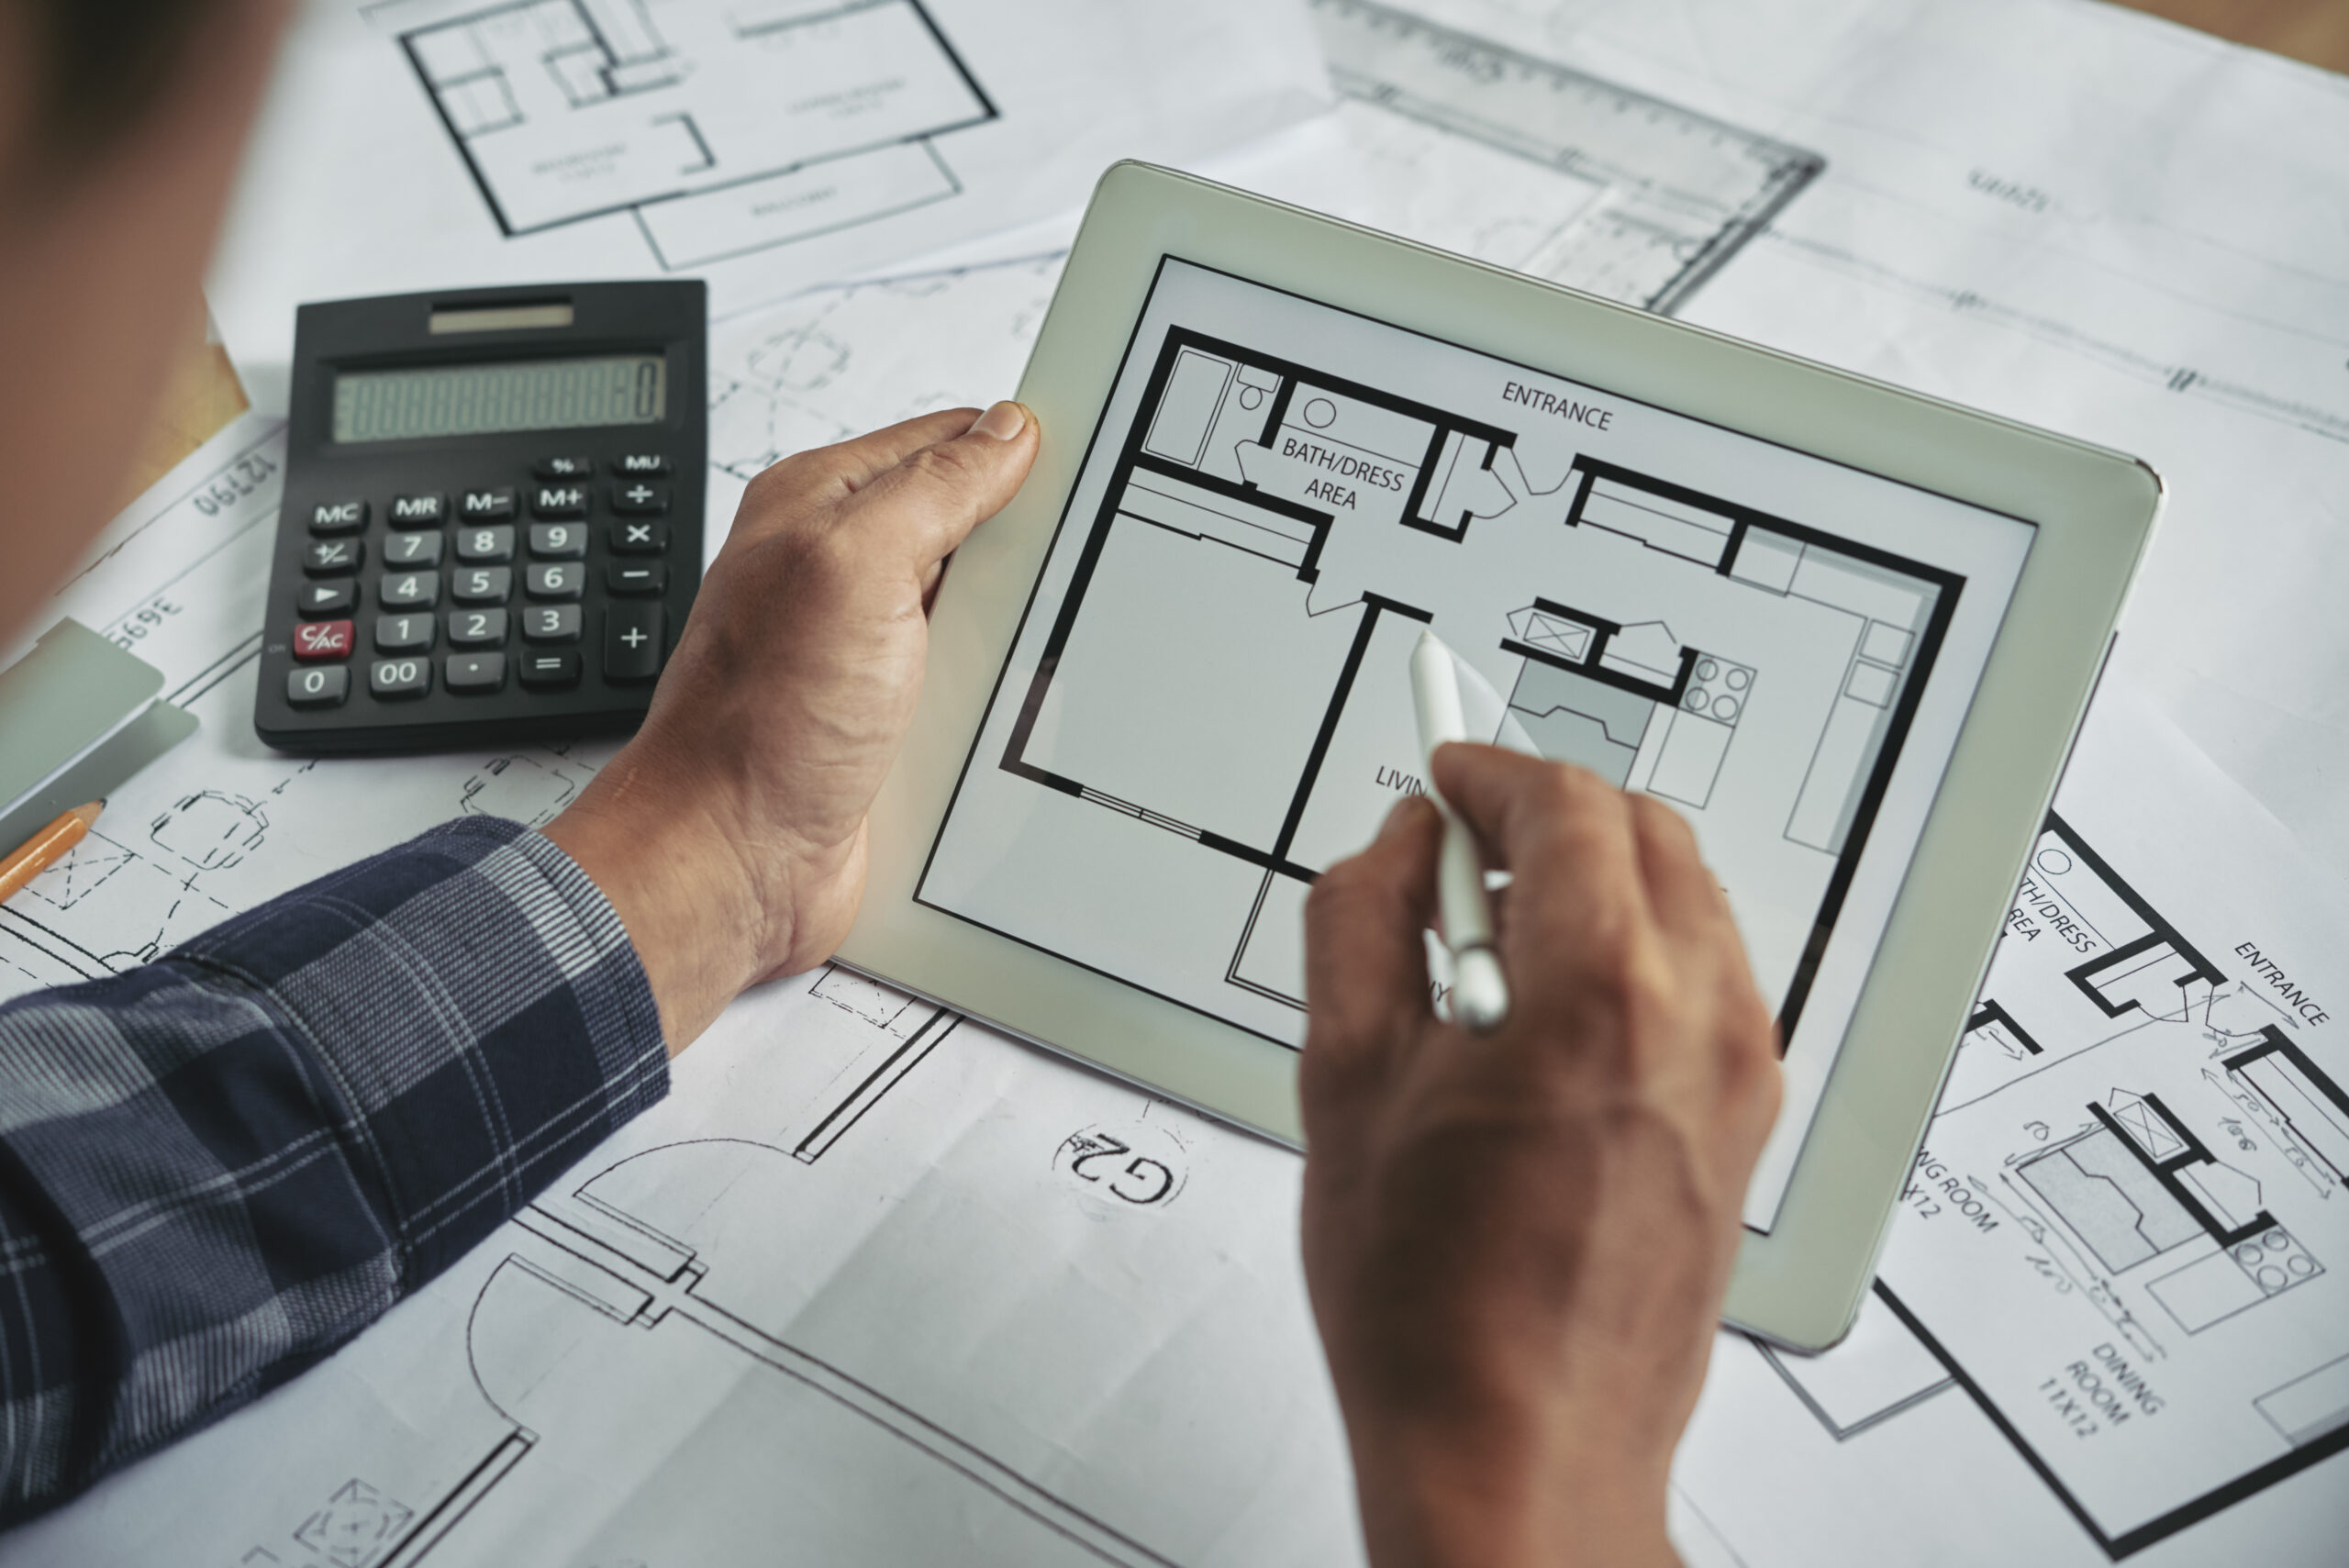
Toronto publishes exactly what a secondary suite submission needs. All drawings must be on standardized sheet sizes, drawn to scale, fully dimensioned, signed and dated, and submitted as PDFs.
Site plan — property lines, lot area, easements or rights-of-way referenced to a current survey; existing and proposed buildings with setback dimensions to property lines and adjacent buildings; a summary of permitted versus proposed zoning provisions including lot area, gross floor area, coverage and grade elevations; and dimensioned parking, driveways, landscaping and accessory structures.
Floor plans — fully dimensioned, for each level, showing existing and proposed use of every space, the location of every smoke alarm and carbon monoxide detector, and every plumbing fixture. Foundation and exterior wall information, interior partitions, and structural framing above.
Sections — cross sections showing existing and proposed construction and the specification of every floor, wall and roof assembly. Footing and foundation wall details including the height of exterior grade above the basement floor. Floor-to-floor, floor-to-ceiling and overall heights. Stairs, landings, guards and handrails detailed.
Construction details and notes — materials and specifications for all assemblies, a typical wall section, and guard details including connections.
Note what’s on that list: floor-to-ceiling heights, smoke alarm locations, assembly specifications. The examiner is checking your ceiling height and your fire separation on paper before anyone visits the site. If the drawings don’t demonstrate compliance, you get a comment letter regardless of what you intended to build.
Who can prepare them: an architect, a professional engineer, or a qualified designer as defined under Division C, Part 3, Section 3.2 of the Ontario Building Code. A designer’s drawings must carry their name, registration number, qualification identification number, signature, and a statement taking responsibility for the design. If a P.Eng seals anything, an Assumption of Responsibility for Engineering Content Form comes with it.
“My contractor sketched it” is not a submission.
Step 4: The forms
Four, for a typical secondary suite:
- Application for a Permit to Construct or Demolish — the main form. Effective February 16, 2026, Toronto requires the updated version, so make sure you’re not working from a PDF someone downloaded two years ago.
- Schedule 1: Designer Information — required for all designers other than engineers and architects. Homeowners claiming an exemption from qualification still have to complete it and state the reason.
- Assumption of Responsibility for Engineering Content Form — only where drawings bear a professional engineer’s seal.
- Rental Renovation Licence Screening Form — required for all permits involving repair or renovation of a residential unit. It determines whether your project also triggers a rental renovation licence under Toronto Municipal Code Chapter 662, the renovictions bylaw.
That fourth one surprises people. If there’s an existing tenant anywhere in the picture, screen for it early rather than discovering it at intake.
Privacy note the City makes explicitly: don’t put the homeowner’s name or phone number on the drawings. Permit plans are subject to disclosure under MFIPPA.
Step 5: Plumbing and HVAC
These are separate permits, applied for alongside the building permit.
For plumbing and drains, a Plumbing Data Sheet goes in with the building permit application. For one- and two-unit houses, plumbing plans generally aren’t required — unless the project involves a reverse-sloping driveway, in which case you need drawings showing the driveway and drain plan.
For HVAC, if the project touches heating or ventilation — and a suite almost always does — the residential mechanical permit requirements apply on top.
If you apply through Toronto’s online system, you’re given the option to submit the related mechanical, plumbing and drain permits right after the building permit application.
Step 6: Electrical — and this one isn’t the City’s
Electrical work in Ontario does not go through your municipality. It goes to the Electrical Safety Authority (ESA), as a separate permit, filed by a Licensed Electrical Contractor. At the end, the ESA issues a Certificate of Inspection.
You need that certificate. Your closed building permit does not cover the wiring, and no city inspector will hand you an electrical sign-off.
If anything in the project burns gas — furnace, water heater, range, dryer — that falls under the TSSA and a licensed gas technician.
Three authorities, one project. We break down who pulls what on our permits page.
Step 7: Submit
Two routes. Online through Toronto Building Online Services Application Submission, or by email to the City’s building applications address. Everything in PDF.
Intake staff check the package first. Missing or incorrectly submitted documents get sent back for resubmission before an examiner ever sees the file.
Step 8: Review
Once complete, a secondary suite in a house falls into Toronto’s House Stream — detached, semi-detached or existing row houses with not more than two dwelling units. Complete applications are reviewed within 10 business days.
There’s also a faster path worth knowing about. Toronto’s Express Services stream targets 3 business days, and the published list of eligible projects includes interior alterations, basement walkouts and underpinning, and 1-to-2 unit conversions in a Part 9 house with no active permit for a new residential building or addition. A straightforward basement suite can qualify.
Both numbers describe the first review. If the examiner issues comments, you revise, resubmit, and go back in the queue. Each round adds time. This is the argument for over-preparing the first submission rather than testing what you can get away with.
Step 9: Fees
Toronto’s published rates for a secondary suite application, effective January 1, 2026:
- Interior alterations (Group C): $11.53 per m² of proposed work
- Residential unit fee: $56.33 per new residential unit
These are the building permit fees only. Plumbing, mechanical, ESA and TSSA permits are separate, and rates are adjusted periodically — check the City’s current fee schedule before budgeting.
Step 10: Inspections
A permitted job is inspected in stages, before work gets covered. For a basement suite that typically means framing, then plumbing, electrical and HVAC rough-ins, then insulation and vapour barrier, then final.
Nothing gets closed up before it passes. That’s the point of the sequence, and it’s the main practical reason a permitted build costs more than an unpermitted one — you can’t drywall on your own schedule.
Keep the stamped permit plans on site. Inspectors ask.
Step 11: Closing the permit
This is the step people skip, and it’s the one that matters at resale.
A permit that was issued but never closed is, from a buyer’s or insurer’s point of view, barely better than no permit. What you want in hand at the end:
- Your building permit, closed and signed off
- Your ESA Certificate of Inspection
- Confirmation of plumbing, HVAC and gas inspections
That file is the asset. It’s what a home inspector, an insurer, or a buyer’s lawyer asks for. Anyone can say “permits included.” The proof is the paperwork.
Where these applications actually go wrong
In rough order of how often we see it:
- No ZAP. The application sits as incomplete with no review timeline while the homeowner assumes it’s in a queue.
- Ceiling height discovered late. Measured to the joists instead of the finished ceiling, then the real number shows up at plan review.
- Drawings that don’t demonstrate compliance. They show the layout but not the assemblies, heights, or alarm locations the examiner needs.
- Old form versions. Toronto updated the application form effective February 2026.
- Assuming the city permit covers electrical. It doesn’t. ESA is separate and legally has to be filed by a Licensed Electrical Contractor.
- Renovictions screening missed where there’s an existing tenant.
None of these are exotic. They’re all preventable at the drawing stage, which is why the front end of this process deserves more attention than the construction does.
Can I just do this myself?
You can. The owner can apply, or authorize an agent to apply on their behalf.
What you’re taking on: preparing or commissioning compliant drawings, obtaining the ZAP, assembling four forms, coordinating three authorities, responding to comment letters, booking inspections, and holding the liability as permit holder if the built work doesn’t match the approved drawings.
If you have the time and patience, it’s genuinely doable. Most people who start reading the drawing requirements decide their time is worth more than the coordination fee.
When we run a project, we do the zoning check first, produce the permit set, submit as your agent, file the ESA and TSSA side through our licensed trades, meet the inspector at every stage, and hand you the closed permits at the end. Here’s how a project works with us, start to finish.
Frequently asked questions
How long does a basement apartment permit take in Toronto? Toronto reviews complete House Stream applications within 10 business days, and eligible projects in the Express stream within 3 business days. Those targets apply only to complete applications with an issued Zoning Applicable Law Certificate and fees paid. Incomplete applications have no published review timeline. Comment letters and resubmissions add further time.
What documents do I need for a secondary suite permit in Toronto? A site plan, floor plans for each level, cross sections, and construction details and notes — all to scale, dimensioned, signed, dated and in PDF. Plus the Application for a Permit to Construct or Demolish, Schedule 1 Designer Information, a Rental Renovation Licence Screening Form, and an Assumption of Responsibility form if an engineer sealed anything.
Do I need a designer, or can I draw it myself? Drawings must be prepared by an architect, a professional engineer, or a qualified designer registered under the Ontario Building Code, with their registration and qualification numbers on the drawings. Homeowners preparing their own drawings must complete Schedule 1 and state their exemption.
Is the electrical permit included in the building permit? No. Electrical goes through the ESA, not the City, and must be filed by a Licensed Electrical Contractor. You receive a separate ESA Certificate of Inspection.
What does a basement apartment permit cost in Toronto? As of January 1, 2026, Toronto’s published rates for this application type are $11.53 per m² for interior alterations plus a $56.33 per-unit residential fee. Plumbing, mechanical, ESA and TSSA permits are separate. Verify current rates on the City’s fee schedule.
Can I start work while the permit is under review? No. Building without a permit can result in an order to comply and prosecution under the Building Code Act, and work that’s already covered may have to be opened up for inspection.
Start with a site visit, not a form
The useful first step isn’t downloading an application. It’s finding out whether your basement clears ceiling height, egress and electrical capacity — because that determines whether there’s a permit worth applying for.
We’ll measure, check moisture and your panel, tell you straight if it doesn’t work, and lay out exactly which permits your project needs and what we’ll handle.
See recent work: our project portfolio, including a basement in Markham and a basement in Vaughan. More on our basement renovation services, and if budget timing is the constraint, financing is available.