A bathroom renovation is one of the most disruptive projects you can take on in a home — and one of the easiest to get wrong if you rush the planning stage. Whether you’re updating a powder room in Richmond Hill or gutting a primary ensuite in Markham, the difference between a renovation you love and one you regret usually comes down to decisions made before a single tile is removed.
This guide walks through the practical side of a bathroom renovation: layout, materials, lighting, storage, permits, and the DIY-versus-contractor decision. If you’re at the early planning stage, this is the checklist to work through first.
How Much Does a Bathroom Renovation Cost in the GTA?
Bathroom renovation costs vary widely depending on the scope of work, the finishes you choose, and whether the plumbing and electrical are being moved or reused. As a general rule:
- Cosmetic refresh (new paint, fixtures, vanity, and flooring, no layout changes) sits at the lower end of the budget spectrum.
- Mid-range renovation (new tile, tub-to-shower conversion, updated plumbing fixtures) sits in the middle.
- Full gut renovation (moved plumbing, structural changes, custom tile and cabinetry) is the most expensive tier.
Note: exact pricing depends on current material and labour costs at the time of your project. Treat any dollar figure you see online as a rough guide, not a quote — the only way to get an accurate number for your home is a site visit and a written estimate. If you want a real number for your project, request a free estimate and we’ll walk the space with you.
Plan Your Layout Before You Touch Anything
The single biggest cost driver in a bathroom renovation is moving plumbing. Keeping your toilet, sink, and shower/tub in their existing locations keeps your budget and timeline predictable. If you do want to reconfigure the layout — for example, converting a tub to a walk-in shower, or relocating a vanity for better flow — decide this early, because it affects rough-in work, permits, and scheduling.
A few layout principles worth following:
- Leave at least 21 inches of clear floor space in front of the toilet and vanity.
- If you’re adding a walk-in shower, plan for a minimum 32×32 inch stall — 36×36 inches or larger feels noticeably more comfortable.
- Think about door swing before finalizing vanity or shower placement, especially in smaller bathrooms.
- If this is a shared family bathroom, a double vanity or separate toilet compartment can reduce morning bottlenecks.
Choosing Materials That Hold Up
Bathrooms are the hardest-working wet room in the house, so material selection matters more here than almost anywhere else.
Flooring: Porcelain tile is the standard for GTA bathrooms — it handles moisture well and holds up to daily use. Large-format tile (12×24 inches or bigger) reduces grout lines, which means less cleaning and a cleaner look.
Shower and tub surrounds: Porcelain or ceramic tile remains the most durable option. Acrylic surrounds are a lower-cost alternative that install faster but don’t offer the same custom look.
Vanities and cabinetry: Moisture-resistant materials (like plywood boxes with a sealed finish) outlast particleboard cabinetry in a humid environment.
Countertops: Quartz is the most common choice for GTA bathroom renovations because it resists staining and doesn’t require sealing, unlike natural stone.
Grout: Epoxy grout costs more upfront but resists staining and mildew far better than standard cementitious grout — worth the upgrade in a shower.
Lighting and Ventilation Tips
Poor lighting and ventilation are two of the most common complaints homeowners have about their “finished” bathroom — and both are cheap to get right if you plan for them before drywall goes up.
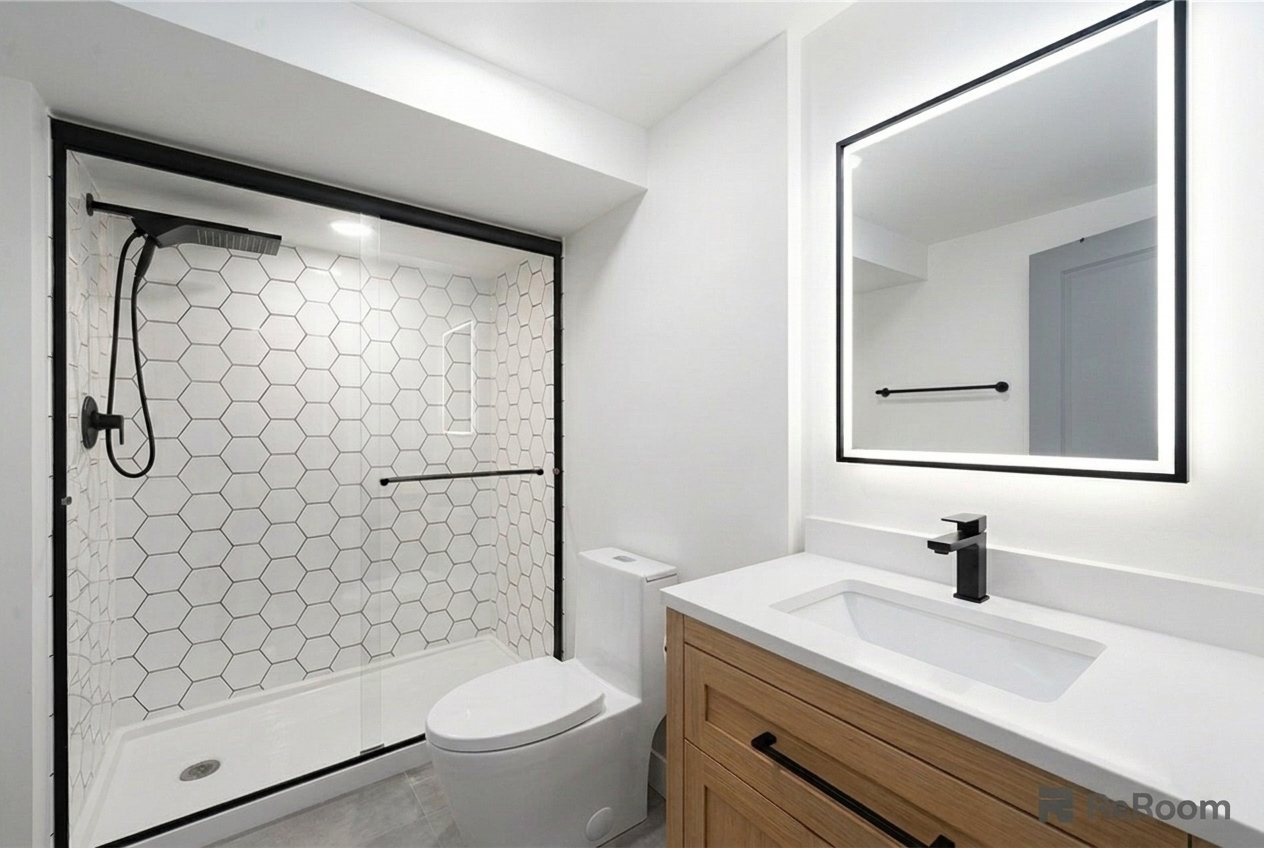
- Layer your lighting. Combine a ceiling fixture for general light, vanity sconces or a lit mirror for task lighting at eye level, and a shower light rated for wet locations.
- Size your exhaust fan correctly. As a rule of thumb, a fan should move roughly 1 CFM (cubic feet per minute) per square foot of bathroom, with a minimum of 50 CFM. Undersized fans lead to lingering moisture, which leads to mold and peeling paint.
- Vent it outside. An exhaust fan that dumps moist air into the attic instead of outdoors causes long-term damage. Confirm the ducting runs all the way to an exterior vent.
Storage Solutions for Small Bathrooms
Most GTA homes — especially older housing stock in Thornhill and North York — have bathrooms that were never designed with modern storage needs in mind. A few ways to add storage without a full layout change:
- Recessed medicine cabinets or niches built into the wall between studs, instead of surface-mounted units.
- A built-in shower niche instead of hanging shower caddies.
- Furniture-style vanities with drawers rather than a pedestal sink, if floor space allows.
- Vertical storage — tall, narrow linen cabinets make use of wall space that’s otherwise wasted.
Permits — When You Need Them in Ontario
Not every bathroom renovation requires a building permit, but some do. In most GTA municipalities, you’ll generally need a permit if the project involves:
- Moving or adding plumbing (new drain or supply lines)
- Structural changes, such as removing or altering a wall
- Electrical work beyond a straight fixture swap
Cosmetic work — new tile, paint, fixtures, or a vanity swap with no plumbing relocation — typically doesn’t require a permit, but requirements vary by municipality and can change. Confirm with your local building department (Richmond Hill, Markham, or Vaughan) before starting, or ask your contractor to handle the permit application as part of the project. A licensed contractor working under a company with WSIB and insurance in place — which is how Northvale Home operates — should be able to tell you within a few minutes whether your scope needs one.
DIY vs. Hiring a Licensed Contractor
Some bathroom updates are reasonable DIY projects: painting, swapping a faucet, replacing a light fixture, or installing new hardware. Where DIY gets risky is anything involving plumbing, electrical, or waterproofing behind tile — mistakes in those areas don’t show up immediately, they show up as a leak six months later, often inside a wall or the ceiling below.
A general guide:
- DIY-friendly: Paint, hardware, lighting fixture swaps, accessories, caulking.
- Hire a licensed trade: Plumbing relocation, electrical work, waterproofing/membrane systems, tile work in wet areas, structural changes.
If you’re taking on a full renovation rather than a single update, a general contractor who manages the trades, schedule, and permits will almost always save you time and reduce risk compared to coordinating five different tradespeople yourself.
2026 Bathroom Design Trends in the GTA
Trends shift, but a few directions are showing up consistently in GTA renovations right now:
- Curbless, walk-in showers — cleaner look, easier access, and increasingly requested for aging-in-place planning.
- Warm, natural tones replacing the all-white, all-grey palettes that dominated the last decade.
- Matte black and brushed gold/bronze fixtures as accents against lighter tile.
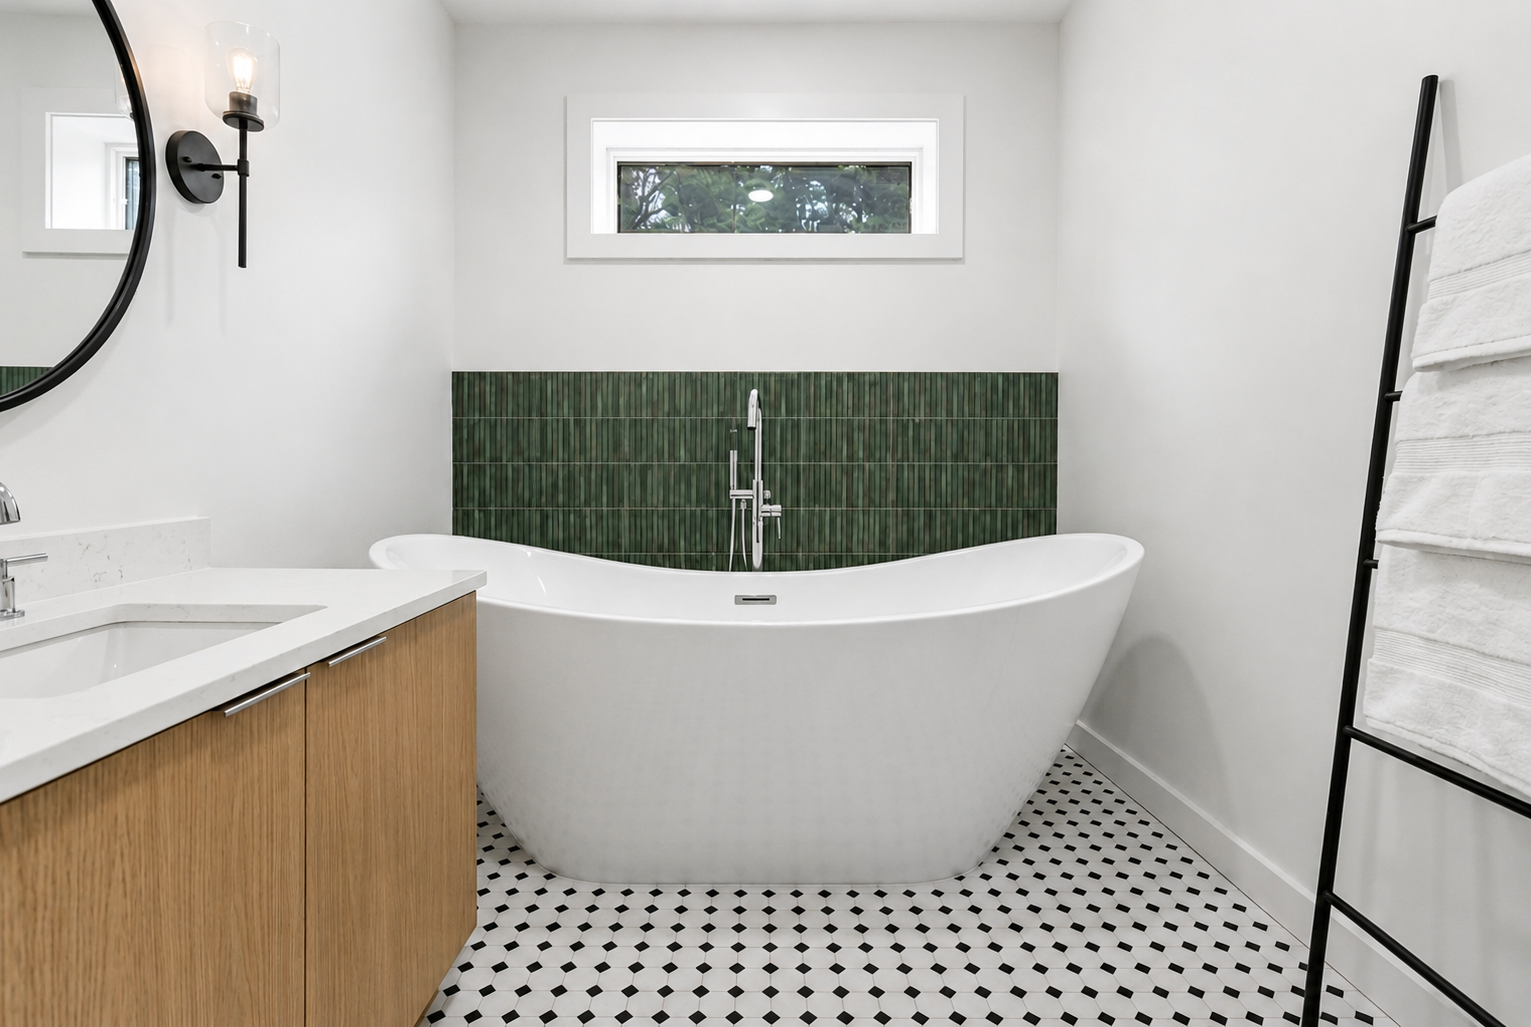
- Freestanding tubs in primary ensuites where floor space allows.
- Heated flooring as an added-comfort upgrade, especially popular in basement bathrooms.
Treat trends as a starting point, not a rulebook — a bathroom that suits your household’s daily use will outlast whatever’s fashionable this year.
Common Bathroom Renovation Mistakes to Avoid
- Skipping the waterproofing membrane behind tile to save time or cost — this is the single most expensive mistake to fix after the fact.
- Undersizing the exhaust fan to save on the fixture cost.
- Choosing finishes before confirming the layout — leading to expensive change orders mid-project.
- Not getting a written scope and contract before work begins, which leaves both homeowner and contractor exposed if something goes wrong.
- Underestimating the timeline — a full bathroom renovation typically takes several weeks once demolition starts, not days.
FAQ
How long does a bathroom renovation take? A cosmetic refresh can take as little as a week. A full gut renovation with plumbing and electrical changes typically runs several weeks, depending on material lead times and the scope of work.
Do I need a permit for a bathroom renovation in Ontario? Only if you’re moving plumbing, doing structural work, or adding electrical circuits. Cosmetic-only updates generally don’t require one, but confirm with your local municipality.
What adds the most value to a bathroom renovation? Generally, a clean, well-executed renovation with durable materials (tile, quartz, quality fixtures) tends to hold value better than a low-cost renovation with materials that show wear quickly. For a number specific to resale value in your neighbourhood, a local realtor is a better source than any general online estimate.
Should I renovate my bathroom and kitchen at the same time? Some homeowners bundle projects to reduce overall disruption and take advantage of a single mobilization of trades. If you’re considering this, it’s worth discussing with your contractor — see our kitchen renovation page for what that scope typically involves.
Ready to Start Your Bathroom Renovation?
A good bathroom renovation starts with a clear scope, a realistic budget, and a contractor who puts it all in writing before work begins. Northvale Home handles bathroom renovations across Richmond Hill, Markham, Vaughan, Thornhill, and North York — from a simple refresh to a full gut renovation.
Browse our bathroom renovation services, see completed projects in our gallery, or contact us to book a site visit and get a written estimate. If you’re also considering other rooms, take a look at our kitchen renovation, basement finishing, and whole-home remodeling services.